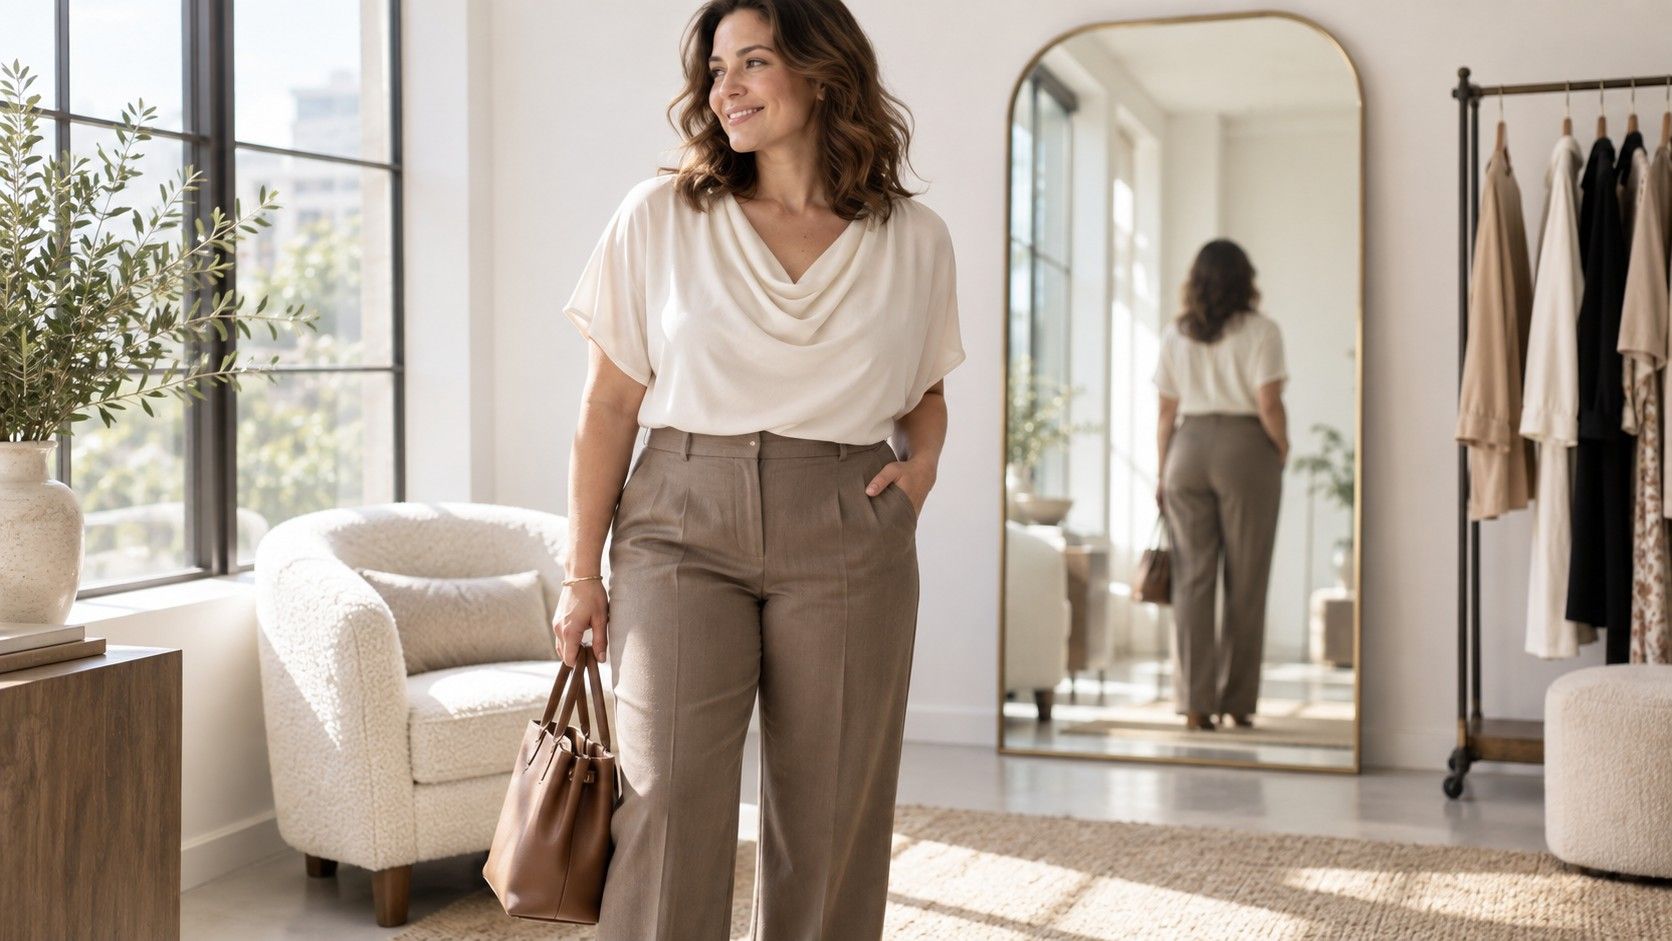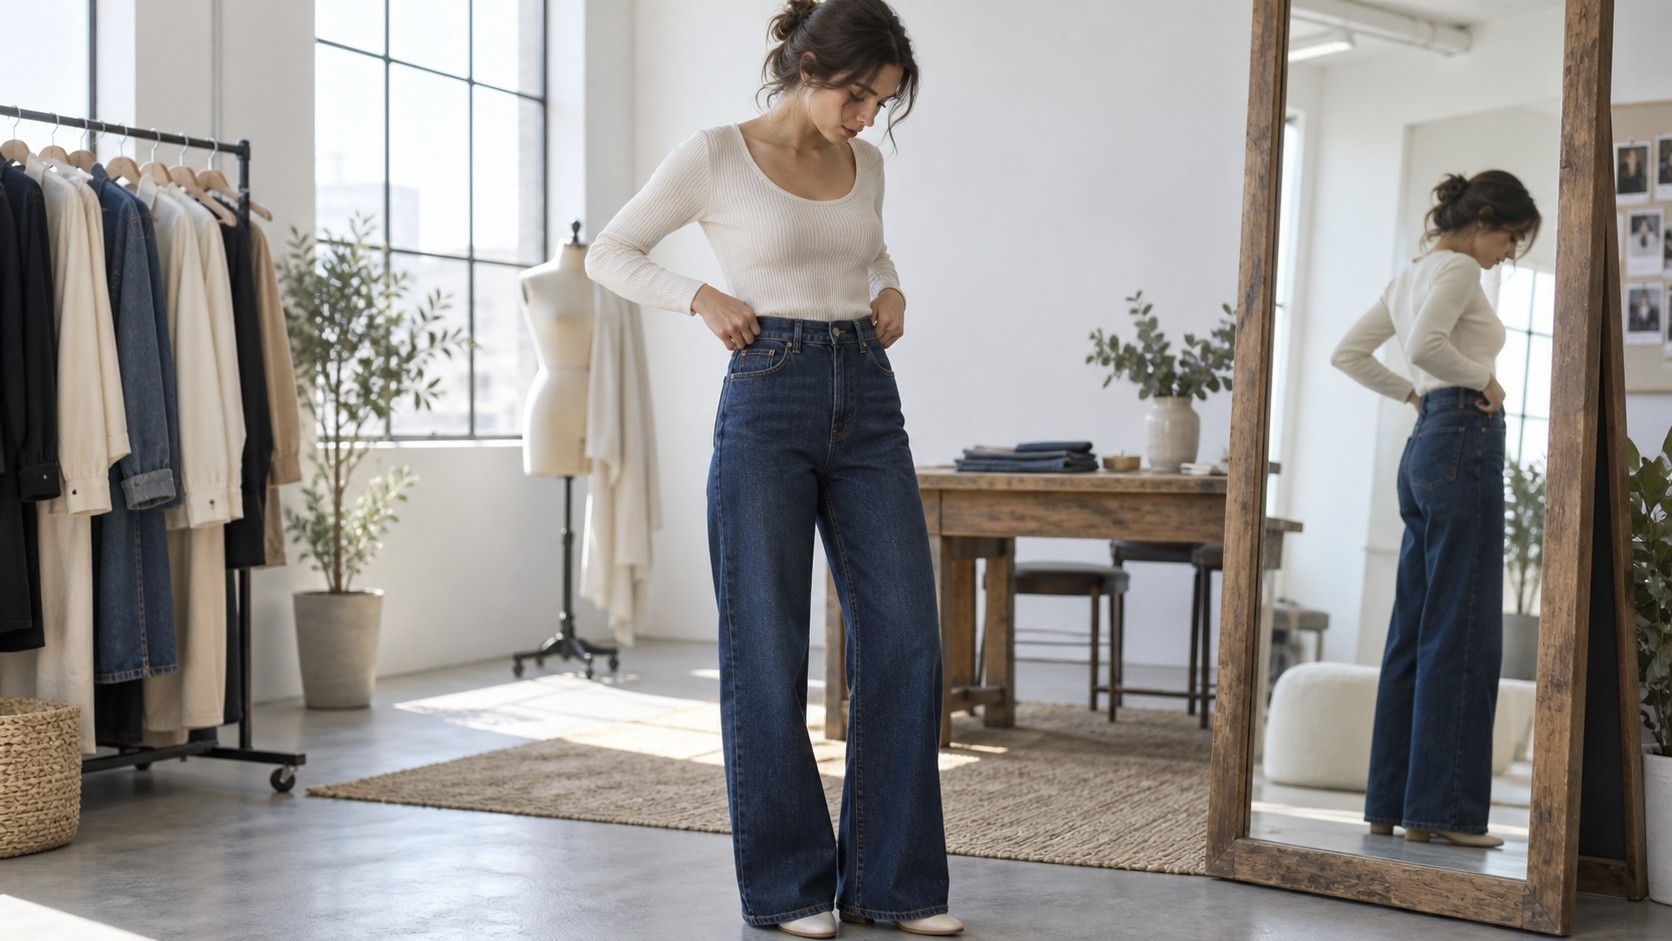
Taking body measurements is not an exam and it is not a reason to stare at a number longer than necessary. It is a practical way to make online size charts, sewing patterns, vintage finds, and stubborn changing rooms less mysterious. A flexible tape, a few quiet minutes, and an honest posture give you information that is far more useful than relying on the size printed on your oldest pair of jeans.
Set up once so the numbers are worth keeping
Use a soft measuring tape marked in inches or centimetres, a mirror, a phone note, and either close-fitting clothes or underwear. Thick knitwear, a padded coat, and the jeans you are trying to replace will distort the result. Measure near a mirror if you can; it helps you see whether the tape is level across your back instead of gradually climbing toward one shoulder.
Measure bust and waist without tightening the tape
Stand normally with weight shared between both feet. Do not pull your stomach in, push your hips forward, or hold your breath. Those small corrections may create a number you prefer, but they will not make a waistband comfortable while you are eating dinner or sitting at a desk. Exhale gently and let the tape meet the body without pinching it.
Measure hips, rise, and inseam for trousers that behave better
If possible, ask someone to help with shoulder, back, and inseam measurements. Working alone is still fine: take each measurement twice and compare. A difference of a centimetre can come from a tilted tape; a larger difference is a cue to reset and measure again. Record the date too, especially if you are making clothes or tracking a fit issue over time.
For the bust, wrap the tape around the fullest part of the chest, keeping it parallel to the floor. The tape should pass over the fullest point at the front and sit straight across the back. Wear the bra you would normally wear with the kind of garment you are shopping for. A structured bra, a soft bralette, and no bra can produce different fit needs, particularly in fitted dresses or button-down shirts.
Your natural waist is usually the narrowest part of the torso, often above the navel and below the ribcage. Bend gently to one side; the crease that forms is a useful starting point. Return to a relaxed upright stance before measuring. Do not assume the top edge of your favourite low-rise trouser is your waist, because that is a garment position, not necessarily your anatomical waist.
Some clothes need a second waist measurement. For a high-rise skirt, measure at the natural waist. For mid-rise trousers, measure at the point where their waistband will sit. This is why body measurements for clothes are more informative than one universal waist number. A brand may list only one waist measurement, so its product photos and rise description become important clues.
Measure full hips around the widest part of your seat and hip area, usually several inches below the natural waist. Turn sideways in the mirror to make sure the tape has not slipped upward at the back. Keep your feet together. A wide stance changes the circumference and can lead to trousers that feel unexpectedly loose through the hip.
For a high hip measurement, wrap the tape around the upper hip area, roughly where a low-rise waistband might sit. Not every chart includes it, but it can explain why trousers fit the full hip yet pull at the pocket or gape under the waistband. It is particularly helpful for fitted skirts, jeans with a contoured waistband, and garments with a yoke.
| Measurement | Where to place the tape | Useful for |
|---|---|---|
| Bust | Fullest part of the chest, tape level | Shirts, dresses, jackets, knitwear |
| Natural waist | Narrowest torso point after a gentle side bend | High-rise trousers, skirts, belted dresses |
| Full hip | Widest part of hip and seat, feet together | Jeans, skirts, fitted dresses |
| Inseam | Crotch seam to preferred hem point | Trousers, leggings, jumpsuits |
| Rise | Front waist position through legs to back waist | Comfort when sitting and bending |
For inseam, measure from the crotch point down the inside of the leg to where you want the hem to end. A friend makes this far easier, but you can also measure a pair of trousers you love laid flat along the inseam seam. Account for shoes: a cropped trouser with trainers, a full-length wide leg with boots, and a formal trouser with heels need different endpoints.
Read a size chart as a garment map
A size chart is not always clear about whether its numbers are body measurements or finished garment measurements. Look for the wording. If a dress says its bust is 40 inches and the fabric has no stretch, that may be the garment width and you need room beyond your body measurement. If the chart says it fits a 40-inch bust, it is describing the body instead. When the page does not say, check reviews, fabric composition, and photos for clues.
That extra room is called ease. A close-fitting woven shirt needs enough ease at the bust and upper back to let you reach forward. A coat needs room for a sweater. Stretch leggings may be designed with negative ease, meaning the garment is smaller than your body and expands. Comparing only a single number without considering fabric is how a perfectly logical purchase becomes unwearable.
When your measurements fall across two sizes, decide which area has the least give. For a non-stretch dress, buy to accommodate the fullest measurement and consider tailoring the waist or straps. For a loose knit, the shoulder seam may matter more than the bust. For trousers, the rise and hip may matter more than the waist if the waistband can be altered. There is no universal tie-breaker.
Check fit in motion before deciding the size is right
Once you have the garment, perform a short movement test. Sit in a chair, lift both arms, bend to pick something up, take a long step, and breathe normally. Notice where fabric pulls first. A blazer that looks crisp but catches across the back, or a skirt that rotates after ten steps, is giving you information the mirror cannot.
Look for the difference between a construction issue and a size issue. Horizontal pulling across the bust or hip can suggest insufficient width. A waist that slides down may be a rise or waist-to-hip proportion issue rather than a need to size down. Shoulder seams hanging beyond the shoulder can mean the garment is too large, but on an intentionally dropped-shoulder style they may be exactly where the design puts them.
Take a quick photo from front, side, and back if you can. The camera makes an uneven hem, twisted side seam, or collar gap easier to spot than a hurried shop mirror. It also lets you compare two sizes later without relying on the vague memory that one felt somehow better.
Keep a fit record that saves time next season
Write down your core measurements, then add the details that standard charts leave out: preferred trouser rise, inseam with flats and boots, sleeve length, shoulder width, and the place you like a dress waist seam to land. Include notes about reliable brands only as observations, because sizing can change from one collection to another.
Update the record when your body or needs change, not out of obligation. The numbers are a tool for choosing clothes that let you move through a day comfortably. They are not a scorecard. If you only use the note to avoid ordering a blouse that cannot button over your bust, it has already done its job.
Knowing how to take body measurements turns shopping into a calmer comparison: your numbers, the garment's numbers, the fabric, and the kind of ease you want. That is enough information to make a good decision, and it leaves room for the much more enjoyable question of whether you actually like the clothes.